Home Blog Page 49

Things You Should Know Before Buying Oculus Rift

0

The Oculus Rift project first started in 2012, and it gathered 2.4 million $ on Kickstarter. In 2014 Facebook bought the company for 2 billion dollars (that’s “b” for billion). Now, Oculus Rift is already over one year old, and it has come a long way.

To make it more appealing, Oculus Rift is now available for 499$ on Amazon. Here are a couple of things you should know before buying Oculus Rift.

Facebook owns Rift

Nausea may happen

This is pretty usual for any VR device, especially if your PC doesn’t meet the required specs. Basically, what your body feels and eyes see aren’t the same, therefore your struggles to process the given information.

Most people get accustomed to this side-effect, as it decreases over time. You can find some advice for overcoming virtual-reality sickness on our website.

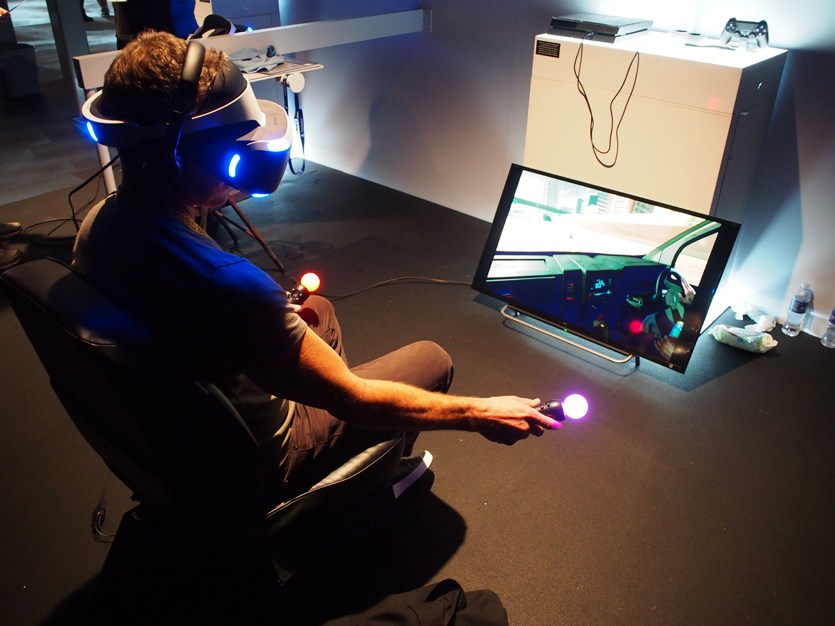
Oculus Rift offers room-scale VR

Oculus Rift Sensors
www.vrheads.com

After the introduction of Oculus Touch controllers, in order to get the full experience, you need 3 position tracking sensors. There are a few things to have in mind when setting up these sensors.

Two sensors are set up in the front, and one in the back of the room. The distance between two front sensors should be 3 to 6 feet, not further. Your third sensor should directly face the other two sensors, and shouldn’t be more than 14 feet away from them.

You can play almost any Vive game on Rift

HTC Vive still offers better positional tracking than Oculus Rift. However, you can play most of the SteamVR Vive games on the Rift, if you have the Touch controllers. You may still encounter some issues with titles that aren’t optimized for it.

All of the developers, games, and apps on SteamVR officially support the Vive, while only a portion of them does the same for the Rift. In future, for everyone’s sake, we would like to see developers move closer to a world of unity between platforms.

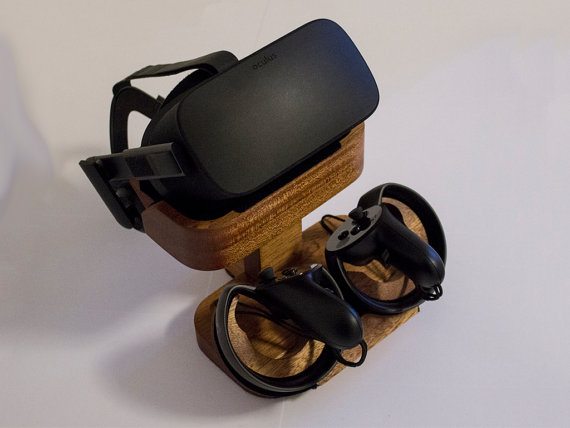
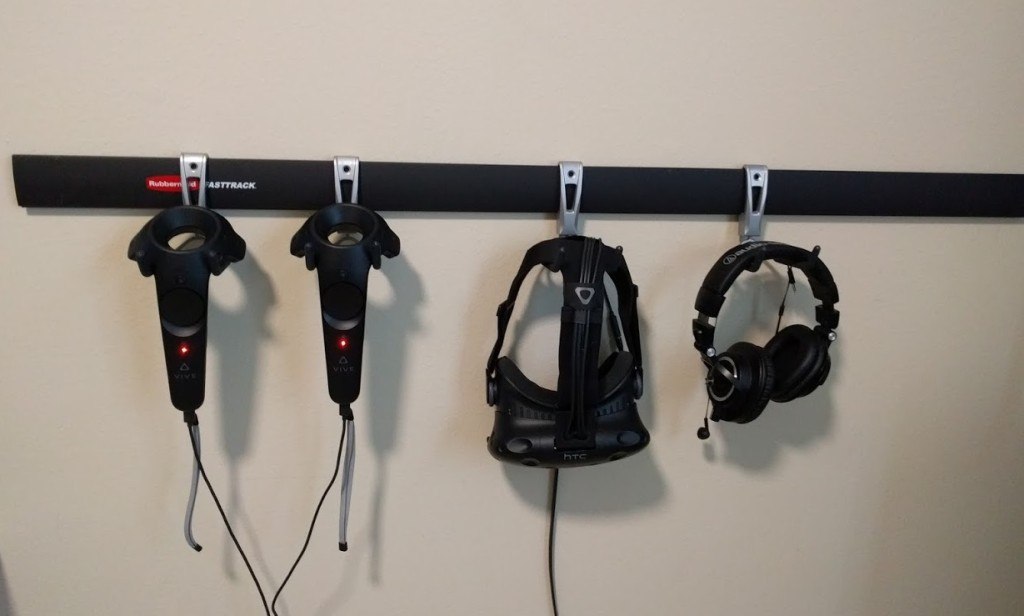
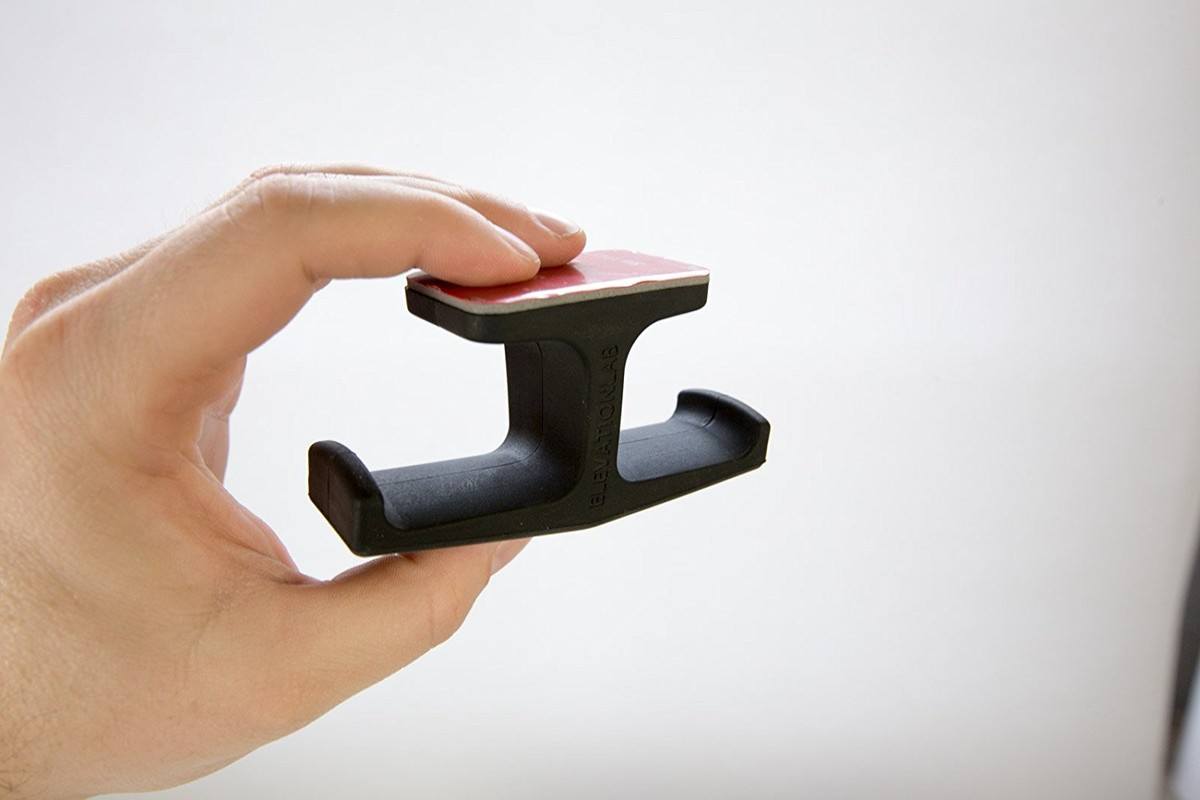
Cable management is a nuisance

Setting up a VR device can be very frustrating at times. At first, you may be indifferent about cables lying all over the room, but in time you will have to do something about it. There are several different solutions for this, from duct tape to various hooks hanging from the walls and the ceiling.

Oculu Rift Cables

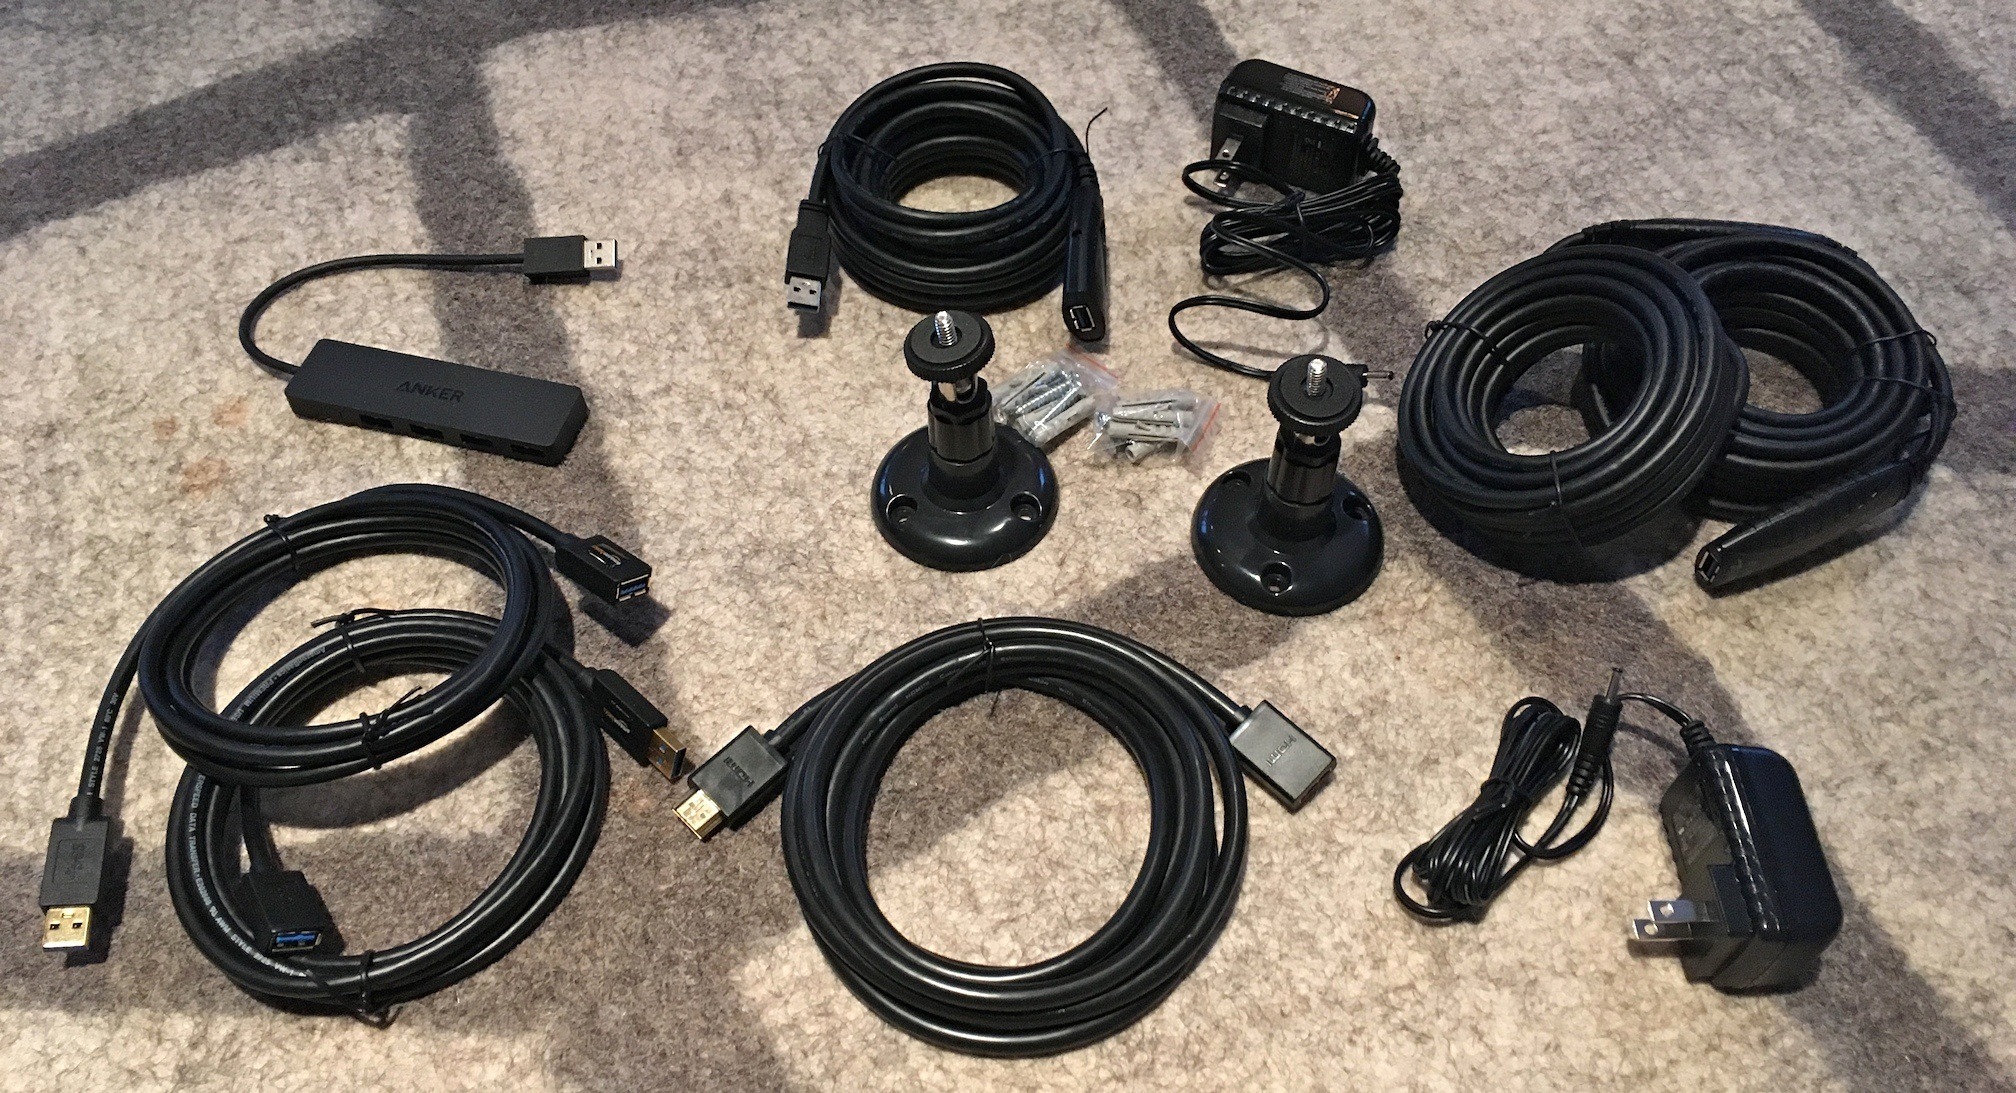
Many users who don’t have enough playing space in the PC-room, or don’t want to completely rearrange the furniture actually decide to extend the Rift cables. This makes playing the Rift in a separate room reserved for your virtual playground possible. Here is a quick how to extend Rift cables guide and how to extend range in order to connect a VR headset to a computer in different room.

Purchasing games can prove to be costly

VR is relatively new technology, and we can understand that developers need extra cash in order to push the quality standards. The truth is that some of the games you buy may only be interesting to you for a short period of time.

Therefore you may find yourself buying some games or apps you will most likely forget about after few tryouts. Also, most VR games aren’t full-length titles, so you will probably spend about half of Oculus Rift’s retail price before you acquire a respectable collection of games.

Sparc Beginners Guide: Tips for New Players

0

If you’re even remotely following the PSVR news, you must have heard about Sparc. It’s been all the rage recently. A lot of players have jumped on the bandwagon, and the feedback has been overwhelmingly positive.

If you’re still on the fence – well, what are you waiting for? The game is absolutely awesome!

On the other hand, if you’ve just purchased the game and are looking to gain competitive advantage, I’m sorry to tell you, but there’s no such thing. Everybody is still new to the game because the game itself is brand spanking new too.

However, what you can do is elevate your game a lot to even the playing field against people who have already had dozens of hours of practice.

First of all, you should really go through the tutorial if you haven’t already done that. After you are done with that, come back and check the tips below to improve your game right off the bat.

Distance

There are a few extremists out there claiming you need a lot of distance for this game, upwards of 3 metres. Don’t listen to this. The most you will need is about 2 metres in front, about 1 metre on each side and 1-1.5 metres behind. In most cases, however, you will be fine if you cut half a metre out of all of these measures.

Seated or Standing?

It’s possible to play Sparc while seated, but it’s awkward and not practical at all. You will need to move to the sides a lot to dodge the balls, and doing so on a chair is quite challenging actually. So, prepare to stand and move.

The Optimal Setup

Two things you should do before each session. One is to move your headgear cable over to your back so it doesn’t get in the way of your flailing hands. Second, invest in a decent fan. You’ll be moving a lot, so having a fan circulate air at your chin area will prevent excessive sweating.

Make it Spin!

In order to make the ball spin, you can do similar hand and arm motions you would do to make the real life balls spin. Practice throwing balls with a spin, trust me, it’s worth it!

Block + Throw

One of the most staple “weapons” in your arsenal should be the ability to block and throw in a way for both balls to come to your opponent at the same time. The opponent will have to deal with both of them, and chances are, he will fail in the process.

This trick will require some practice and experience, so give it time. Also, there are a million and one ways you can accomplish the intended result, it’s on you to actively search for and find patterns you can employ to do this successfully.

Curves and Ricochets

Straight balls have their use and place in the game, but you will generally want to throw curved balls that ricochet wildly and seemingly unpredictably off of walls.

So, aiming should be the least of your worries. Instead, try to find exact spots you can throw the ball at to ricochet right into your opponent. Believe it or not, this is actually easier than trying to aim the ball directly at your opponent.

Also, there are dozens, if not hundreds of ways you can throw the ball. Try to time your shots as well, disrupt the rhythm, speed up and then slow down to throw your opponent off. Always be unpredictable.

Last, but not least, when your opponent does the same, don’t start panicking and instinctively moving your head following the ball path. It’s better to stay cool, calm and collected and just follow the ball with your eyes.

Over time, you’ll be able to easily predict where exactly the ball will enter your play area. This will make it very easy for you to pre-emptively move to the side or duck down instead of in the last moment.

Once you get good at this, you’ll be able to time the basic block + throw so well that the opponent won’t know what hit him/her. Literally!

Shoulder Pains

In order to prevent shoulder pains, or worse, shoulder injuries, alternate your throwing technique to keep the joint from straining too much. A lot of people have reported painful side-effects of their shoulder joint overuse, so be careful.

So, overhand, backhand, overarm, sidearm etc. All viable throwing techniques that will help you both throw your opponent off and keep your shoulder healthy. Just keep experimenting, the more throwing techniques you have in your arsenal, the better your game and shoulder will feel!

Wait for Them to Throw First

I’ve left this one for last because it’s a cheap, almost dirty tactic, as well as a double-edged sword.

If you wait too long, the shot clock bar under your strike counter will fill up. If that happens and if the opponent throws first, he will get a free strike. As we all know, strikes build up the ball size and speed, making it harder to block/evade.

On the other hand (no pun intended), you might want to trade-off the strikes for a better chance at hitting your opponent. If the opponent throws first, you will have more control over the block + throw technique.

In reality, if you abuse this, your opponents will start waiting for you to make the first move again. The matches can become annoying stalemates, so it’s best to use this dirty tactic sporadically.

TL;DR

Stand, don’t sit, cable on your back, fan blowing fresh air in your face. Curveballs and ricochets from all angles, time your blocks and throws, break the tempo, change the rhythm, rest your shoulder and, most importantly, don’t be an asshole to everybody else!

Autonomous Teleport Virtual Reality 3D Camera Review

0

If you are looking to create your own 3D videos and want to do so with a stylish and capable device, then Autonomous Teleport Virtual Reality 3D camera could be what you are looking for. There is much to consider, you want to ensure that any camera you attach to your phone is sturdy, fits well and gives good quality recordings. We will look into whether this camera does the job.

Funded by IndieGogo, 1,152 backers saw the potential and a need for such a product, but what are the results like?

How it Works

The Teleport camera uses two separate cameras to capture reality, the same way we use our eyes to see the world. It is little wonder that this has resulted in many backers and customers.

What you see is what you end up with – only in 3D! Want to capture your first born’s first steps as they walk towards you? This clever device allows users to hold onto memories forever. You can capture holiday memories as though you were there again when re watching.

The Autonomous Teleport Virtual Reality 3D camera itself is very compact. Sleek looks and smooth edges give it a high-quality looking appearance that you won’t be embarrassed to have on top of your phone in public.

Autonomous Teleport Virtual Reality 3D Camera on top of phone
Fits perfectly!

It comes with a neat carry bag. It’s perfect to keep the device safe when you are taking it out with you. Autonomous Teleport Virtual Reality 3D camera also comes with simple step by step instructions, guiding you through how to use it, as well as the best way to get the most from your videos.

How to Use

You will need to download an app to use Autonomous Teleport Virtual Reality 3D camera. Make sure your phone is compatible first. You don’t want to get caught out with a product that you couldn’t use!

To use the camera, you simply plug it into your phone and attach the lens to the top of your screen. Remember, it currently only works with Android, but keep an eye out for iOS support in the future.

Results

With the rise of 3D and VR, there are a lot of subpar products on the market. The results you get from using the Autonomous Teleport Virtual Reality 3D camera immediately stand out.

Once you have recorded the videos to your 3D memory, you can download them onto your laptop or other devices to store forever. The 3D screen is smooth and of a high quality, which is rather expected for the price range.

Autonomous Teleport Virtual Reality 3D Camera modern design
Unmount, plug, download. Simple as that.


How to Build up Tolerance for VR Motion Sickness?

0

VR motion sickness is also known as cybersickness or simulator sickness. The usual symptoms are nausea, headache and dizziness. Spending money on your VR device only to find out that you can’t enjoy it for longer than 5 minutes without the urge to puke is heartbreaking.

The developers are well aware of the VR motion sickness problem, and are working hard to nullify its effect. Meanwhile, many people report that they have managed to overcome VR sickness over time. There are some simple rules when you first immerse into virtual reality that you should follow.

Don’t tolerate performance issues

How to Build up Tolerance for VR Motion Sickness
Think about it…

If you are a gamer, you’ve probably encountered some lags, glitches and other problems in your career. Most of the time, the instinct tells you to play this through, since this seldom happens, and only for short time periods.

In virtual-reality environment, we strongly recommend that you don’t attempt to play until the game or app is running smoothly. Anything below optimal framerate will ruin your experience, since simulator sickness is directly related to low FPS.

Seeing how your PC specs directly affect your FPS, and developers are constantly pushing boundaries of VR, you will have to keep your hardware up to date. This is the main reason why PCs that can support high-end VR devices are so expensive.

Build up VR tolerance slowly, start with “easier” games

If a game you were eager to play is making you feel sick, you should stop immediately! Naturally, in the beginning you shouldn’t just go ahead and play Resident Evil 7 for its full length. Still, Resident Evil 7 does look impressive and very, very scary!

There is a vast library of different games and genres available in VR, and some require higher levels of immersion than others. Staring with less demanding games and slowly building the tolerance until you are able to play whatever you want is a good idea.

It is mandatory to take regular breaks in between sessions, don’t over-stress your sensory system.

Remain seated

OLYMPUS DIGITAL CAMERA

For starters, it is probably best to play games that allow you to sit down and relax. Since VR is an overwhelming experience for all of your senses, sitting in a comfortable chair will give you a much needed sense of stability. Some people report that chewing a gum while playing helped them get over VR motion sickness.

Eat or drink ginger

Ginger is a well-known remedy for motion sickness, as even medieval sailors used it for mitigating the effects. If you don’t like the taste of raw ginger, it can be delicious in smoothies. Nowadays there are ginger supplements available too.

Change your FOV

Lowering your field of view (FOV) may help decrease the VR motion sickness symptoms. On the other hand, this reduces the level of immersion and situational awareness, hence it is the least popular solution.

Bear in mind that, by lowering your FOV, you will have to rotate your head more in order to achieve the wanted effect in VR. For example, 20 degree rotation in real life will equal 15 degree rotation in VR.

Have a cold one!

Surprisingly, many users claim that having few alcoholic drinks before starting their VR sessions reduced or even removed the symptoms of cybersickness completely.

Now, we don’t condone alcohol use, but if everything else fails, grab a Corona, Bud Light or Somersby. Don’t overdo it though!

How to Store Oculus Rift and Oculus Touch?

0

If you are a neat person, you may find it very frustrating to find a tidy way to store Rift. Managing all the cables while setting up Oculus Rift was probably already a nightmare, but now, after you’ve immersed into virtual reality and finished your session, yet another problem emerges.

Storing Oculus Rift

When you first get your hands on the Rift box, you will notice that it is handy and sturdy. Obviously, it is designed for storing Oculus Rift and Oculus Touch, so if you haven’t thrown it away for some reason, it can serve its purpose. The only downside of the Rift box is that it is a bit bulky and you may not have the required space to keep it next to your PC. In the video below you can see a better way to store Oculus Rift and Oculus Touch. This way, you will avoid any unwanted side effects.

If you have, for any reason, thrown away the convenient original shipment box, don’t be alarmed. The Rift perfectly fits in an Ikea shoebox, so you can store it there. It will do its primary purpose, keep the dust away. However, if you don’t want to put your precious Oculus Rift in a shoebox, we have some much cooler solutions for you.

How to Store Oculus Rift and Oculus Touch
Give it a throne to sit on

If you are ready to spend some more money on your VR device, you can buy a fancy Oculus Rift Stand, like the one in the image above, but it costs over $100 dollars. There are, of course, some cheaper versions of the product out there. If something like this would fit your setup, you can find it here.

If you are more of a do-it-yourself kind person, we’ve got something for you too.

Strap EVERYTHING to the wall!

How to Store Oculus Rift and Oculus Touch
Hang ’em!

This All-in-One Rail and Hook Kit is probably the smartest device you’ve seen today. It obviously serves the purpose of storing Oculus Rift perfectly. In the image we can see how Vive users take care of their equipment, and you will have no headphones to worry about. If you want to neatly store the cables too, you can get an extra hook for them.

The only downside is that if you store the headset this way, over a period of time it will put stress on the elastic strap and it may stretch.

How to Store Oculus Rift and Oculus Touch
Stick it and keep your controllers out of harm’s way!

If you are worried that your Oculus Touch controllers are a bit out of place hanging on the wall, you can mount them under your desk with the anchor. You probably took care of your headphones this way, but it can also keep Oculus Touch out of harm’s way.

Last but not the least, you can buy a mannequin head to perfectly store your Oculus Rift HMD. It may seem a bit creepy for some, but honestly, it is the best way to safely store your HMD. This is a sure-fire way to keep the dust and sun away from the lenses, and it can be placed on the desk’s flat surface without fastening.

How to Store Oculus Rift and Oculus Touch
HEY! Don’t judge! This is how you look too when wearing that damn mask!