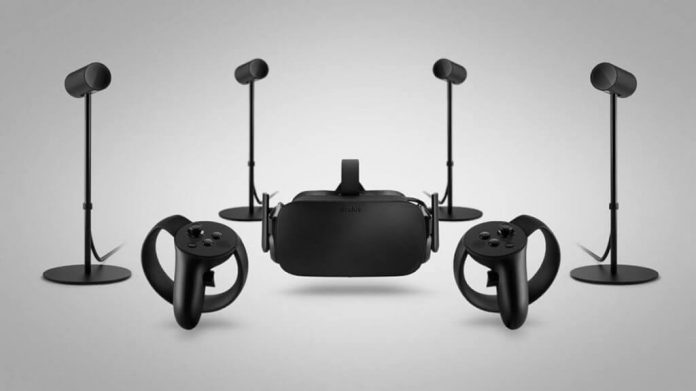
Setting up room scale VR may prove to be not as simple as you might initially think. As always, it is a good thoroughly think your setup through in advance. Firstly, lets cover the basics about setting up the motion trackers. Then we will present some of the best affordable tripods for Oculus sensors but also some alternative solutions.
Oculus Sensors placement
After dealing with cable management, you probably don’t want to just leave the Oculus sensors sitting on the ground. Official Oculus recommendation is to place the two cameras on your desk, each on opposite side of the PC monitor. However, the basic setup including two Oculus sensors doesn’t provide room scale tracking! Two cameras ensure precise tracking only if you are facing your monitor, meaning – no room scale VR. This is why you should consider purchasing the third Oculus sensor as a must have Rift accessory.
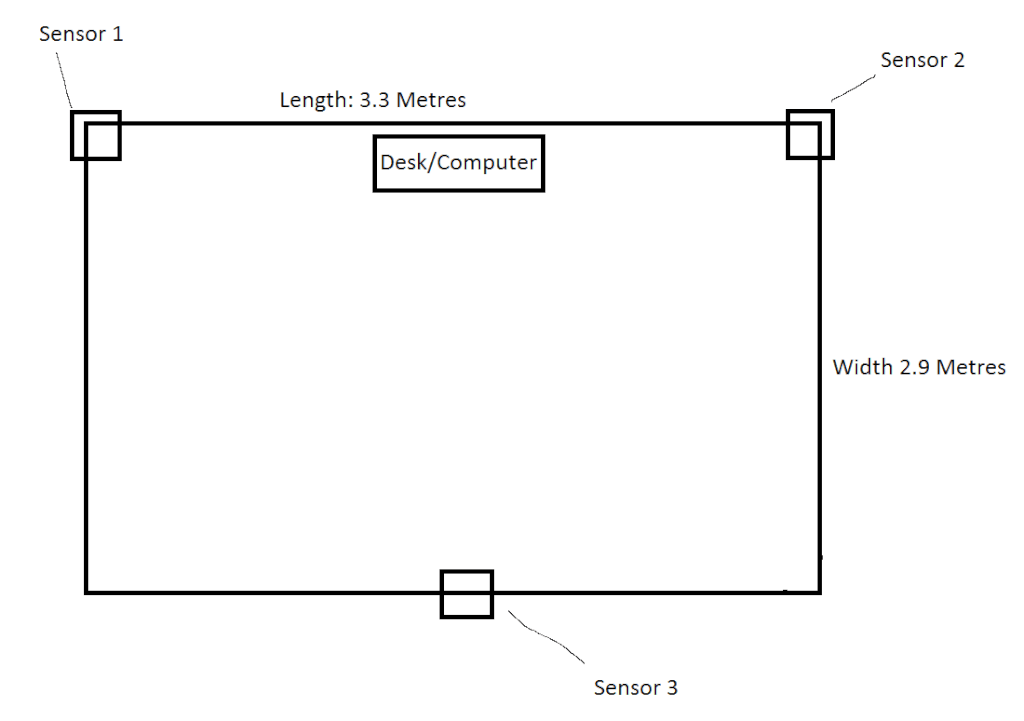
So basically 3 cameras form a triangle around your virtual playground, enabling precise positional tracking. As shown in the image above, you should keep two sensors in the front corners of the play area, and the one in the back, facing your PC monitor. This setup ensures precise tracking on a roughly 3×3 meters area.
For pin-point accurate tracking and slightly larger playground (4.5m x 4.5m), consider getting the fourth sensor and place them all in a rectangular formation. This isn’t really necessary, just pointing out that with some additional investments, Rift can accommodate anyone’s needs and wishes.
Tripods for Oculus Sensors
Basically, any regular camera tripod will do the trick. Obviously, you’ll need three tripods for Oculus sensors. This may prove to be a financial issue, since professional tripods often cost a lot.
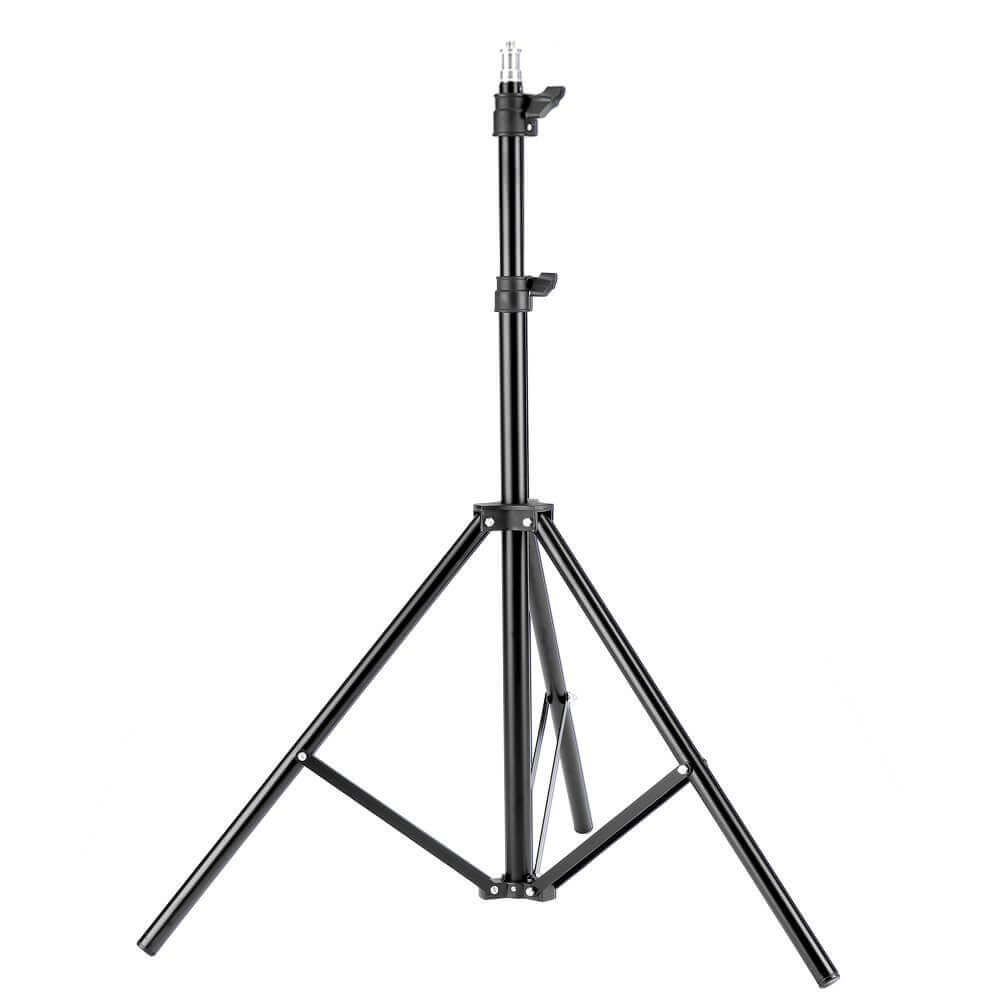
Luckily, there are much better deals at about fraction of the price range. There are several options to browse though. In these images, you can see the ones we at VRBorg consider the best affordable tripods for Oculus sensors.
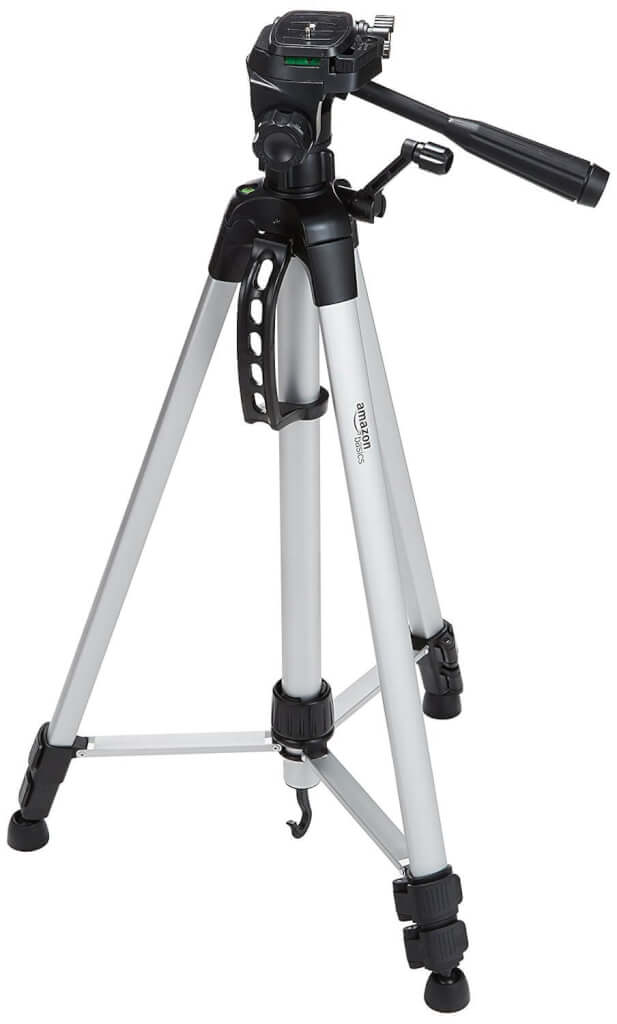
If you want to lift the your cameras all the way up to the ceiling, you can also purchase a classic light stand with a maximum height of 7’6″, which comes in a pair. This solution, however, may seem redundant once you’ve checked out our alternative solutions to tripods for Oculus sensors.
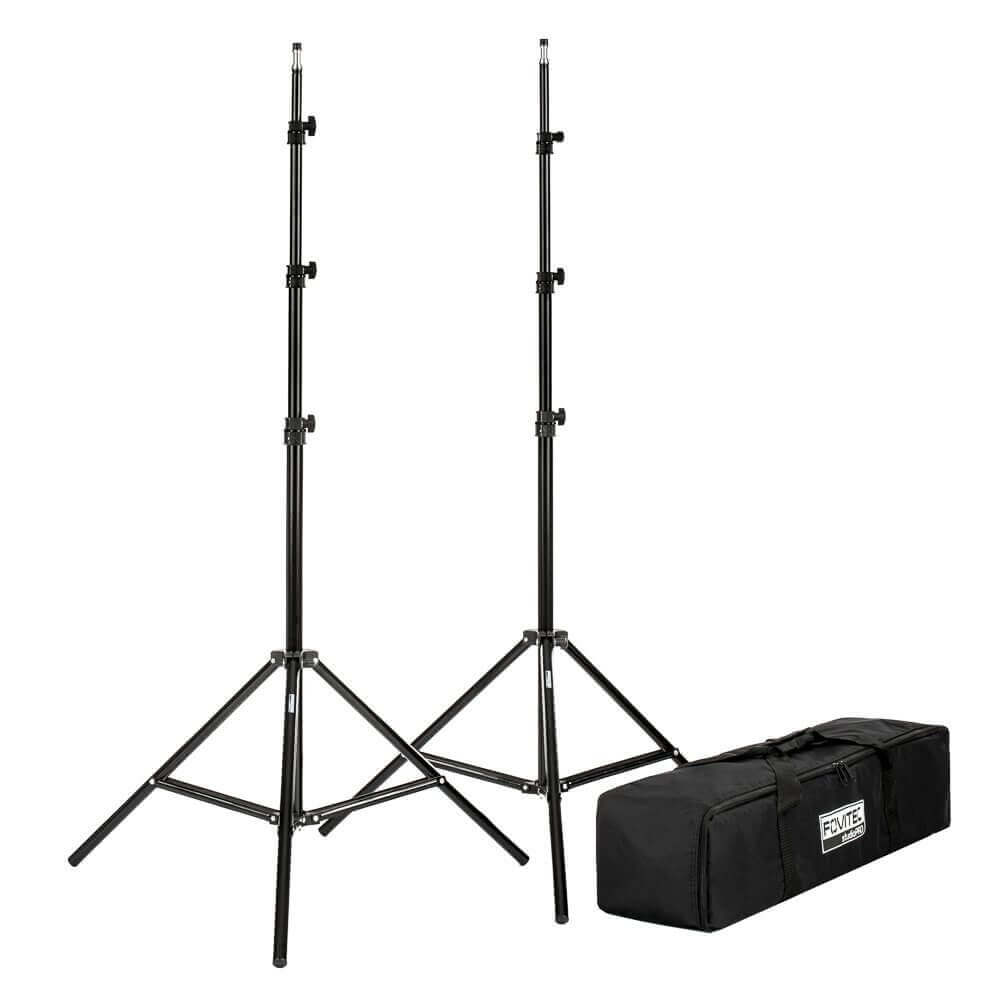
Alternatives to tripods for Oculus sensors
If you have high bookshelves in your VR dedicated room, lucky you. These can serve as your Oculus sensor stands.
Regardless, there are plenty of simple and creative ways to mount the sensors on the walls. First thing to do is detach the sensors from their standard stands, which is done by simply unscrewing them. For a wall-mounted setup you will probably need USB extension cables too.
Let’s take a look at our Oculus sensor wall mounting solutions.
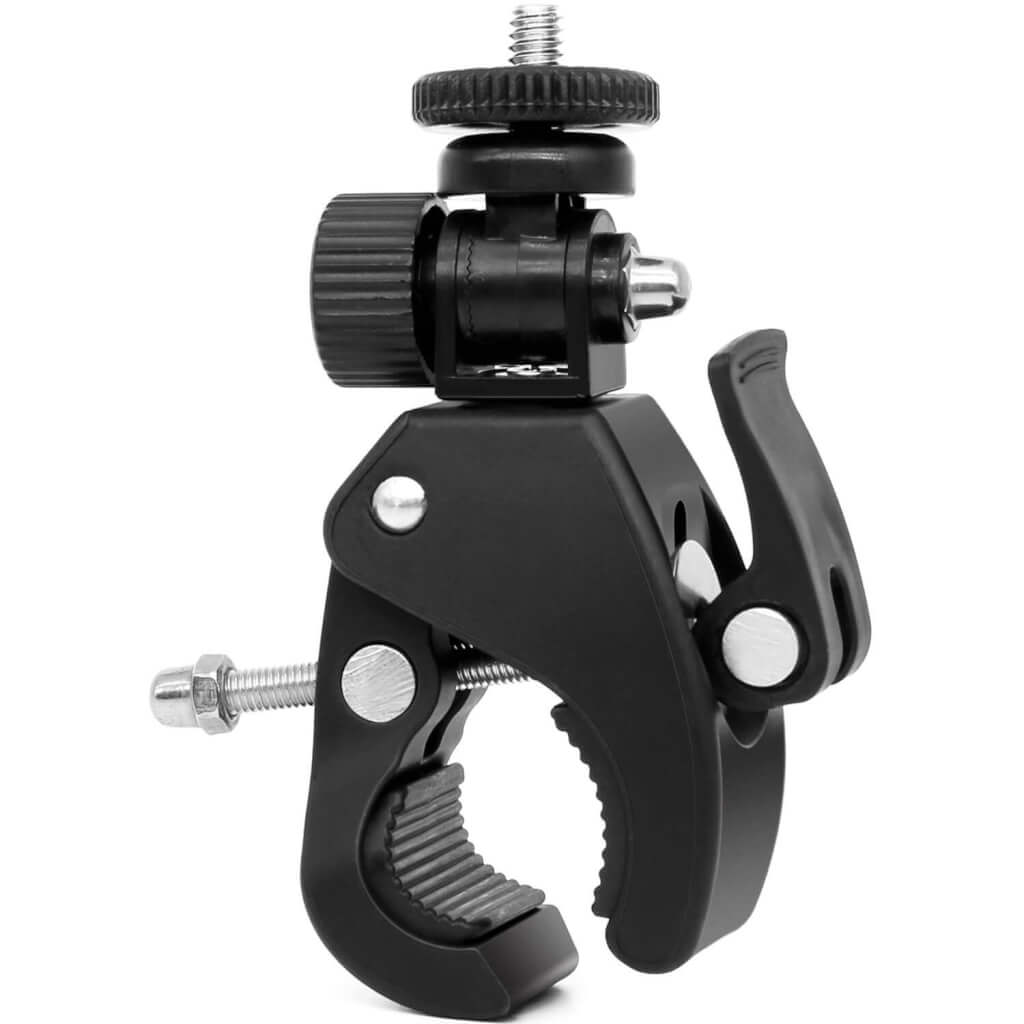
Made out of solid plastic, this camera mount is clamped to any type of bar or pipe, which may utilize your heating pipe installations for example. The head can be rotated for 360° and the features a knob lock adjustment, which makes it cover virtually any angle.
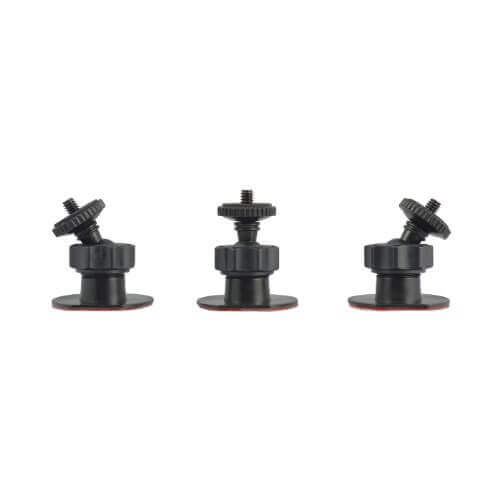
A simple and perfectly straightforward solution, and it comes in a pack of 3. Adhesive surface simply sticks to the wall, wherever you choose to place it. Afterwards, simply screw your Oculus sensor to it.
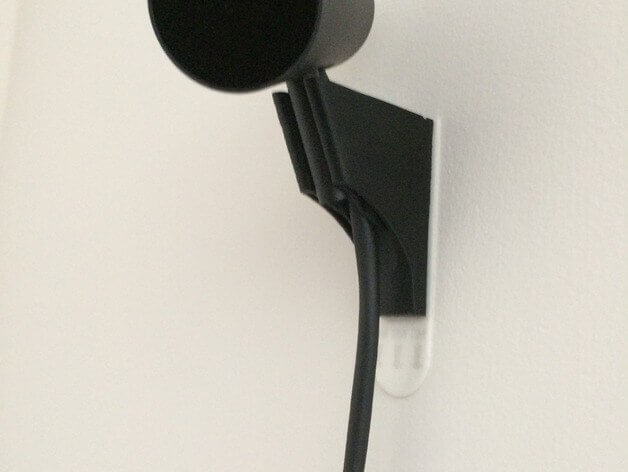
Last but not the least, you can order the 3D printed Oculus sensor mount from thingverse. It uses spring tension to hold the camera in place, you just need a command strip that holds it to the wall.
