
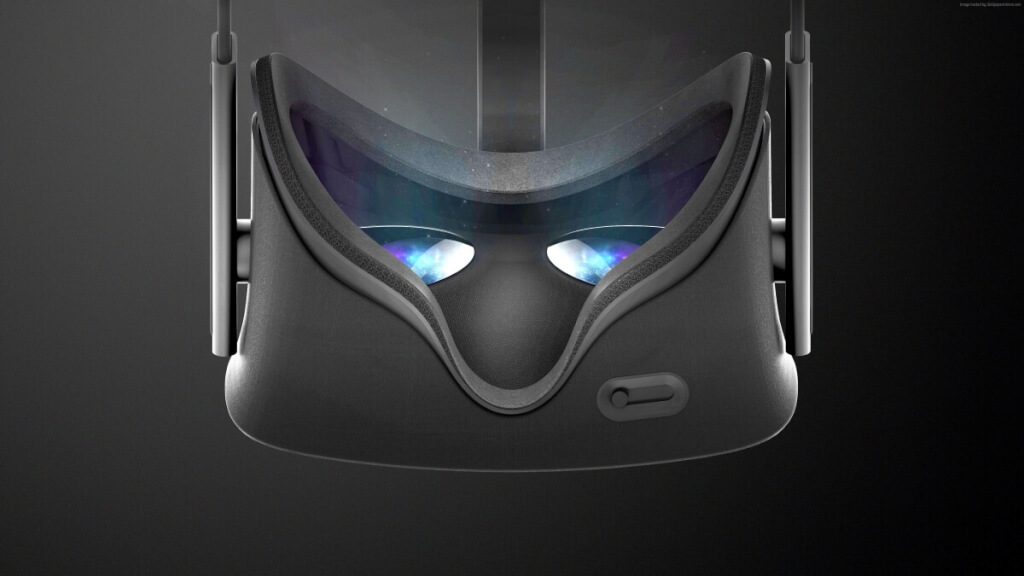
A problem many users have with the Oculus Rift headset is that it rarely if ever renders pitch black as ‘black’. The Rift renders black as ‘grey’. You might think this isn’t much of a problem, but you’d be surprised at how much having grey skies in space destroys immersion – or having grey ‘dark areas’ in a horror game. The simple fact is that humans are used to seeing black as black – seeing black as grey is positively unnatural, and destroys immersion.
If this is a problem that you’re having at the moment, there’s an easy fix, and no, it does not involve simply replacing your Oculus Rift with an HTC Vive or PlayStation VR.
Use the NVIDIA Control Panel to fix the problem
It goes without saying that this fix is only applicable if you are using an NVIDIA driver. Here’s how to solve the problem in a few easy steps.
- First of all, disconnect the HDMI cable at the point where it attaches itself to the Rift headset.
- Then, at the same point, connect a display unit such as a monitor using a DVI-HDMI connector.
- Once you have done this, bring up the NVIDIA control panel. Do note that you should be ready to exit the NVIDIA control panel immediately after the next step, as there’s a bug that could cause problems if you don’t.
- Now select the RESET option within the control panel and reset everything to the default settings.
- Then immediately EXIT the control panel.
- After closing down the NVIDIA control panel to bypass the bug, re-open it again, and click on the CHANGE RESOLUTION tab. At this point, you will notice something called an OUTPUT DYNAMIC RANGE, which you will need to ensure is set at FULL. There is some sort of a bug – at least, for want of a better description – that resets this setting to LIMITED even if you were to have previously set it to FULL. This happens especially after the installation of a new driver. You may have to repeat this process if you install a new driver.
- Now, within the NVIDIA control panel, click on ADJUST DESKTOP COLOR SETTINGS. On the page that now opens, you will need to locate the DIGITAL VIBRANCE slider and ensure that it is set to no more than around between 38% to 45%, as opposed to the default 50%. However, experiment with this setting a bit to see what looks best. Don’t forget to press ‘Apply’.
- Now, EXIT the NVIDIA control panel and detach the monitor from the HDMI cable.
- Once the cable is unplugged from the monitor, reconnect the Oculus Rift headset to the HDMI cable.
- Other display properties can also be tweaked using the method above, so that you can create a highly individualistic display for your headset that suits you perfectly.
An important consideration
If you are using other drivers instead of NVIDIA and are encountering the same problem, it’s possible to adjust the settings using the integrated control panel of your driver, working along the same lines as above. Obviously, I wouldn’t really recommend actually shifting headsets if you already own the Rift.