
Whether you are a fresh or seasoned PlayStation VR user, there are always some quality of life improvements you can implement which may enhance your overall experience. We gathered information about some fairly common, but also a few less known PSVR tips and tricks you may find useful.
Each of our suggestions aims to improve the level of immersion you get during your virtual reality sessions. Individually, they may not seem like much. However, these small pieces of the PSVR tips and tricks puzzle combined together make a formidable difference.
If you haven’t yet decided if PSVR is a virtual reality device of your choice, or if you are thinking about waiting for the next gen of PlayStation console before purchasing PSVR, read this article.
And now, without further ado, lets get on with VRBorg’s PSVR tips and tricks!
Camera and Tracking
A lot of talk has been going on about the PSVR camera and tracking. Critics have been merciless, and while users for the most time are ecstatic while talking about Sony’s virtual reality headset, most of them have encountered occasional tracking issues. Nevertheless, PlayStation VR has surpassed 2 million units since Fall 2016!
Basics
Firstly, let’s cover the camera setup basics. You need to place it on a slightly higher, vibration free surface. Official Sony’s recommendation is 1.4m (4’7″) from the floor or “slightly higher” if you are using PlayStation Move motion controllers. Setting PS camera up on a higher surface in some cases improves tracking. You should sit or stand directly in front of it, at a distance of about 1.4m-2m (4’7″-6′).
Dim the lights
PlayStation camera works by tracking LED-s on the PlayStation VR headset. When deciding which room to designate as your virtual playground, you should have in mind – the darker the better!
Whether it is the daylight, some LED-s other than the ones on your VR headset or just the room lights, all of the aforementioned can interfere with the PSVR camera and negatively affect the in game tracking. Your PSVR shouldn’t be exposed to direct sunlight while in use, so make sure to avoid this scenario. Any mirrors or smooth surfaces which may reflect any lights are unwelcome, as they also could “confuse” the PlayStation camera.
Re-calibrate the camera often
Unless you have a basement without windows which serves as your VR room, most likely you will be unable to completely block out the daylight. During different times of the day, the amount of sunlight entering your playroom will vary.
Due to these differences of brightness during the day, it is a good idea to re-calibrate your PlayStation camera, if possible before each session. This will ensure you get as accurate tracking as possible.
We hope these PSVR tips and tricks will solve the PlayStation camera issues you may have encountered.
Set the IPD carefully

IPD is abbreviation for interpupillary distance, or simply put the distance between the centers of your eyes. But you probably already know this. This can be done manually. Go to Settings-> Devices-> PlayStation VR. The headset measures the IPD automatically, but these measurements aren’t always pin-point accurate.
You can measure the distance yourself using a ruler, or with a help of a friend. Have in mind however that you’ll need a ruler with millimeter units. If you want 100% accurate measurements, visit an eye doctor. While your actual IPD value is important, feel free to fine tune it since some users report that setting it slightly wider or narrower than the actual distance positively influenced the video quality and reduced the eyestrain.
Talking about the eyestrain, you can use one of the simplest PSVR tips and tricks to reduce it. Simply lower the brightness level!
Besides sore eyes, improper setup of IPD may also lead to nausea and motion sickness, so make sure to fine tune it until you get the clearest image.
Charge up your PlayStation Move Controllers
PlayStation move controllers aren’t really mandatory, but there are many games which you won’t be able to fully enjoy without them. If you are trying to figure out if they are worth buying, check out this article.
If you already own a pair of PlayStation Move controllers, before immersing into virtual reality, you should always fully charge them. If the Move Controllers aren’t fully charged, it may lead to in-game tracking glitches.
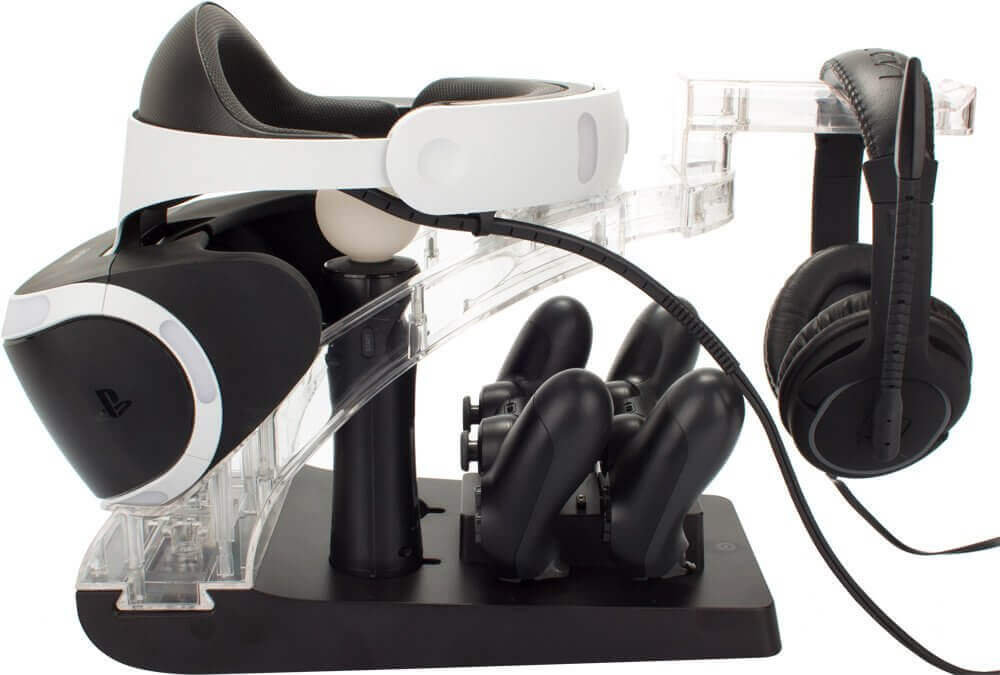
There is plenty of charging stations available on Amazon, like the one in the image above.
Play Demo Games before buying
Paying additional $50 per game on top of the $400 headset is something you may not be so happy with. Well, there’s nothing we can do about that fact.
However, to ensure no regrets after the money has already been spent, try out the game demos before making a purchase. The demo disc you get when purchasing PlayStation VR contains 18 virtual reality game demos, so there is plenty of trial versions to try out!
Peripherals are necessary for improved immersion
While move controllers are recommended, yet not necessary, buying a pair of headphones for improved immersion is almost mandatory. Check out our article on best headphones for PSVR in order to find a perfect pair for you.
Another peripheral you might consider buying is PlayStation VR Aim Controller. However, it is only compatible with the sci-fi shooter Farpoint. Support for other games has been announced, so you should probably wait out until you can play more first person shooters to get the most out of your investment.
We hope that our list of PSVR tips and tricks helps improve your overall experience. Game on!
Sincerely yours, VRBorg Collective